





Description
Key Technical Specifications
- Model: SYN5201A-Z V277
- Order number: 3BHB006714R0277
- Brand: ABB
- Product type: Digital synchronous grid connection device / synchronizing relay
- System frequency: 50 Hz standard, 60 Hz configurable by software
- Voltage input: PT secondary AC 100 V
- Working power supply: DC 24 V or AC 110/220 V selectable
- Communication: Modbus, LON, Profibus
- Operating temperature: -20 to +60°C
- Protection class: IP20
- Mounting: Internal cabinet installation, 19-inch rack style
- Function set: Voltage, frequency, and phase matching with breaker close control
Product Introduction
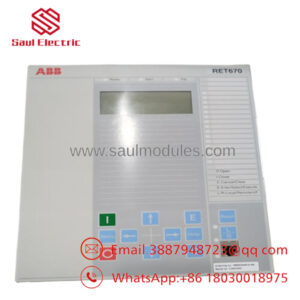
ABB SYN5201A-Z V277 3BHB006714R0277 is a synchronizing relay used for generator and bus synchronization in power plant and industrial power systems. It measures voltage, frequency, and phase, then issues control outputs for safe grid connection and breaker closing.
This unit belongs in legacy synchronization schemes where exact ABB compatibility matters. It supports industrial communication options such as Modbus, LON, and Profibus, which makes it easier to integrate into existing DCS or SCADA layers without redesigning the control philosophy.
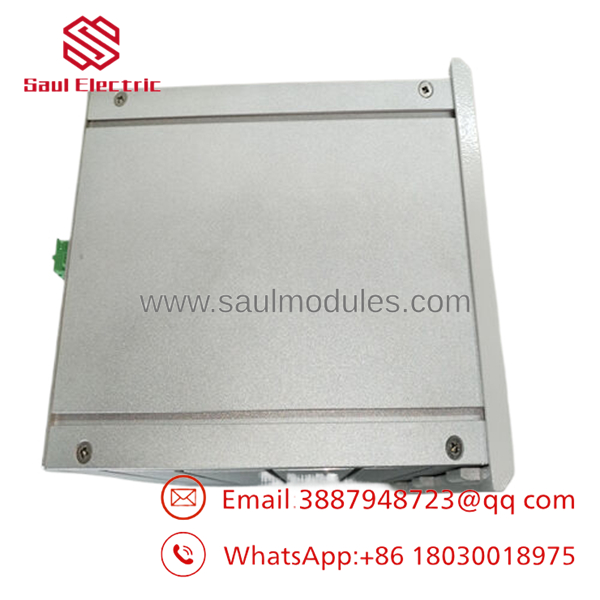
- SYN5201A-Z V277 3BHB006714R0277
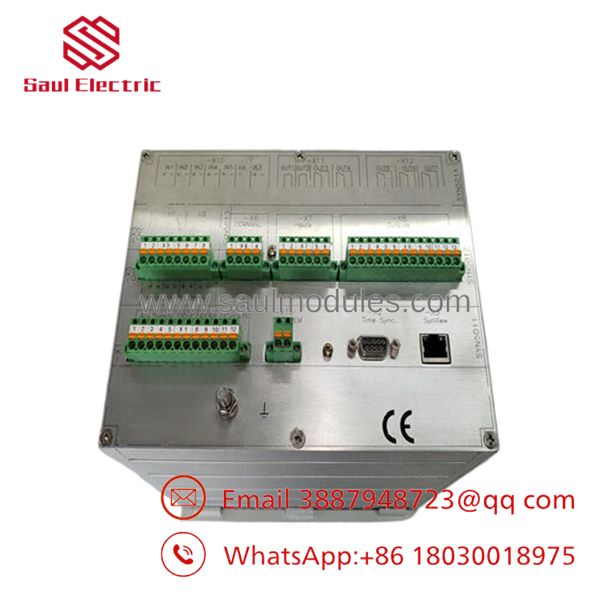
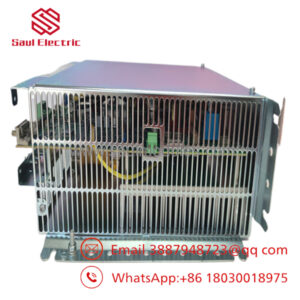
- SYN5201A-Z V277 3BHB006714R0277
Installation & Configuration Guide
Stage 1: Pre-Installation Preparation
- Notify operations and confirm the unit is isolated. Lock out/tag out the panel and wait at least 5 minutes for stored energy to discharge.
- Gather tools: ESD strap, PH1 screwdriver, multimeter, wire labels, and a smartphone for photos.
- Back up the existing settings, record terminal wiring, and photograph DIP switches, jumpers, and any local configuration links.
- Verify the exact model and order number before opening the panel.
Stage 2: Removing the Old Module
- Remove the front cover or access bezel.
- Label each wire before disconnecting it. Do not pull on the conductors.
- Release the mounting hardware and remove the unit straight out.
- Inspect the cabinet wiring, connector pins, and terminal blocks for heat damage or loose ferrules.
- Keep the old unit until the replacement runs cleanly.
Stage 3: Installing the New Module
- Put on the ESD strap and confirm the nameplate matches exactly.
- Replicate all settings from the original unit. Copy DIP switch positions, jumper links, and any auxiliary configuration exactly.
- Mount the unit securely and confirm full seating.
- Reconnect all wiring using the original wire numbers and torque settings.
- Verify the checklist: [] settings copied, [] wiring secured, [] mounting locked.
Stage 4: Power-On & Testing
- Use a multimeter to verify there is no short on the supply rail before energizing.
- Power the control supply first, not the entire power path.
- Observe status LEDs and confirm the module boots normally.
- Connect the engineering software or HMI interface and verify the firmware revision and communication status.
- Run a dry functional test of sync permissives, breaker close logic, and alarm outputs.
- Time estimate: 10–15 minutes for replacement, 10–15 minutes for checks and verification.
- ⚠️ If the unit shows a red fault condition, check configuration mismatch first. If comms fail, verify protocol settings, wiring polarity, and port assignment.
Frequently Asked Questions
Q: Can I hot-swap this synchronizing relay?
A: No. I would not hot-swap a synchronizing device in a live panel. Kill the supply first, because a bad insertion can damage the module or create a control fault.
Q: Is this model obsolete?
A: Yes, this is legacy ABB synchronization hardware and stock is usually limited. That means the condition report and test status matter more than marketing claims.
Q: Does the replacement keep my settings?
A: Not automatically. Assume you must copy the original switch and jumper positions, then verify the software parameters after power-up.
Q: What if I cannot get this exact order number?
A: Do not guess. ABB sync devices are tied closely to the application voltage, breaker logic, and site configuration, so a near-match can still be wrong.
Q: Why is surplus pricing lower than OEM list price?
A: Because it is usually discontinued or excess inventory, not current factory production. Lower price is fine only if the seller can prove identity, condition, and testing.
Q: What should I check before ordering?
A: Check the exact order number, auxiliary supply, PT input rating, communication requirement, and panel mounting format. Those five items decide whether the part will actually fit the job.
Q: Is this a new unit or refurbished?
A: Ask for the exact condition in writing. I would only accept New Original, New Surplus, or tested refurbished if the seller shows photos and test confirmation.

 Start Chat


