





Description
Key Technical Specifications
| Parameter | Value |
| Protocol Support | Profibus-DP (Compliant with EN50170, RS-485 standard) |
| Maximum Data Rate | 6 Mbaud (Supports 9.6k, 19.2k, 93.75k, 187.5k, 500k, 1.5M, 6M) |
| Node Capacity | Connects up to 24 MTL8000 / GE Process I/O modules |
| Maximum Telegram Size | 244 Bytes input / 244 Bytes output |
| HART Compatibility | Supports HART process variables and status mapping via mailbox |
| Electrical Isolation | 500 V AC between LAN, Railbus, and internal power supply |
| Power Requirements | 12 V DC supplied via Railbus (420 mA typical, 520 mA max) |
| Operating Temperature | −40 to +70 °C (−40 to +158 °F) |
Product Introduction
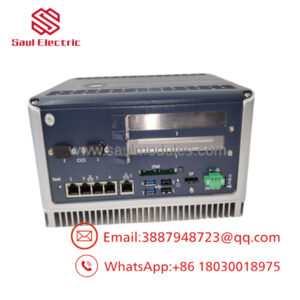
The GE 8502-BI-DP is a rugged Bus Interface Module (BIM) designed to establish a communication bridge between distributed MTL8000 process I/O modules and a centralized Profibus-DP host controller. Acting as a high-speed fieldbus slave, this module consolidates field telemetry from analog, digital, and intrinsic safety circuits, making the values instantly readable over a standard RS-485 physical layer.
Instrument engineers specify the 8502-BI-DP for heavy chemical, oil, gas, and power applications due to its comprehensive handling of the HART protocol. Rather than simply capturing process variables, the module extracts secondary diagnostic parameters and loop status registers directly into the Profibus cyclic telegram. This specialized feature enables asset management systems to monitor field transmitter health without requiring parallel hardwiring or secondary networks.
Installation & Configuration Guide
Stage 1: Pre-Installation Preparation (Estimated Time: 15 minutes)
- ⚠️ Safety First: The BIM manages process inputs and outputs for entire rack nodes. Removing this module while the plant is live will cause the entire sub-node to lose communication, forcing associated loops into their fail-safe states. Disconnect or bypass active loops in the DCS logic before turning off rack power.
- Tools Required: ESD grounded wrist strap, 3.5 mm flathead screwdriver, narrow terminal pick, and the hardware-specific master GSD file installed in your Profibus network configuration utility.
- Data Backup: Document the exact Profibus slave station address assigned to the old module. Note down the physical layout sequence of the existing I/O modules on the adjacent carrier rail.
Stage 2: Removing the Old Module (Estimated Time: 5 minutes)
- Attach your grounded ESD wrist strap to a structural bare metal terminal inside the enclosure.
- Disconnect the incoming Sub-D 9-pin Profibus connector from the front interface block.
- If using the local auxiliary configuration port, disconnect that cable as well.
- Release the top and bottom mechanical carrier locking tabs that hold the module to the underlying DIN rail or backplane base.
- Pull the module straight out from the railbus interconnect to protect the gold-plated alignment pins.
Stage 3: Installing the New Module (Estimated Time: 15 minutes)
- Keep your ESD wrist strap secured. Remove the new 8502-BI-DP from its static barrier bag.
- Verify that the physical address selection switches on the base enclosure shell match the old target address (if your network doesn’t push the address purely via the “Set Slave Address” software command).
- Align the module with the guide channels on the 8000 series carrier block.
- Press firmly until you hear the module seat completely onto the Railbus power and data tracks.
- Snap the mechanical locking tabs into the closed position. Re-engage the 9-pin Profibus network connector and tighten its securing screws.
- Self-Checklist:
- [ ] Node address physically matches the original device setting (if applicable).
- [ ] Module fully locked down on the carrier base, preventing intermittent backplane drops.
- [ ] DB9 Profibus connector seated square with screws hand-tightened.
Stage 4: Power-On & Testing (Estimated Time: 20 minutes)
- Apply 24 V DC power to the underlying base carrier module to power the internal 12 V Railbus loop.
- Watch the front-panel status LEDs. The green POWER light must stay solid. The yellow LAN light will flash slowly, indicating it is waiting for valid host network initialization frames.
- Bring the master Profibus controller back online or activate the network bus segment.
- The yellow LAN light should transition to a steady state or a fast flicker, confirming a valid cyclical handshake with the master. The red FAULT light must remain off.
- Review your DCS hardware diagnostics to confirm that all 24 potential I/O child modules are reporting online without channel calibration alarms.
- ⚠️ Troubleshooting Note: If the red FAULT light triggers immediately after initialization, a configuration mismatch exists between the physical I/O modules placed on the rail and the “logical modules” assigned inside the master GSD configuration layout tool.
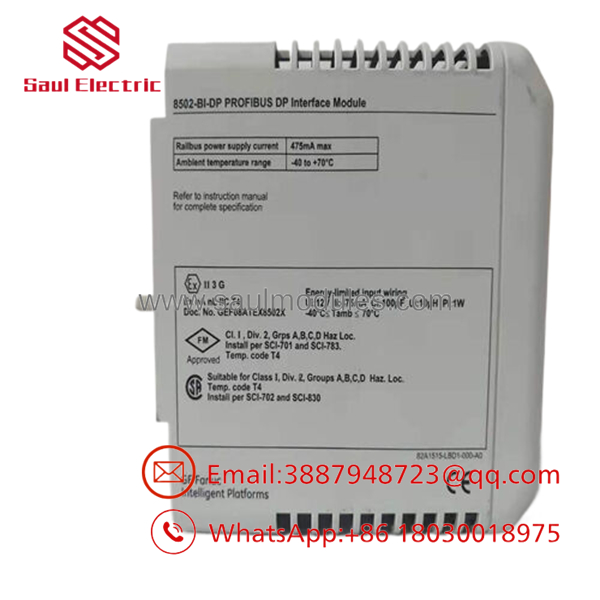
- 8502-BI-DP
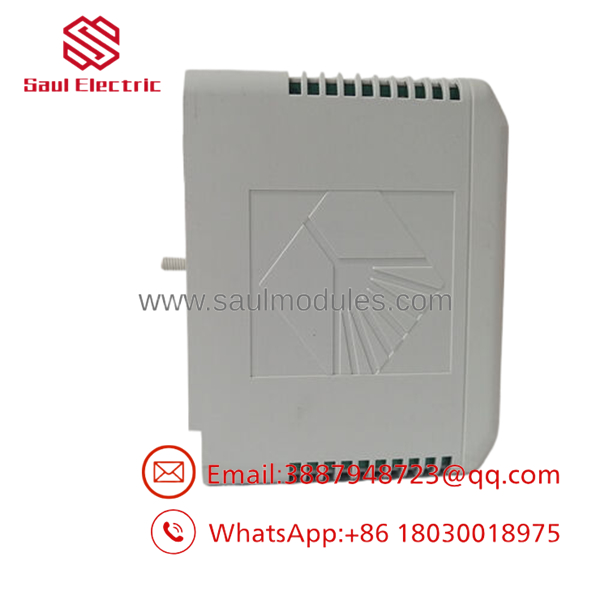
- 8502-BI-DP
Frequently Asked Questions (FAQ)
Can I hot-swap the 8502-BI-DP while the underlying node is powered?
Technically, the hardware design allows for hot-plug substitution, but doing so on a live process network is highly hazardous. Removing the BIM completely breaks the connection between your central controller and all sub-modules linked to that node. Valved positions, actuator signals, and sensor lines tied to those 24 modules will immediately drop out. Only perform an active swap if you have verified that every output channel on the rail has been switched to an isolated manual bypass loop.
Why is the module listed as both GE Fanuc and MTL Instruments?
MTL Instruments originally designed and manufactured the 8000 series industrial process I/O platform. Under commercial distribution agreements, GE Fanuc co-branded and sold these assemblies as part of their distributed process control portfolios. A module marked GE 8502-BI-DP is physically identical to, and entirely interchangeable with, an official Eaton MTL 8502-BI-DP module.
How does the 8502-BI-DP transmit complex HART data over standard Profibus-DP?
The module utilizes two different approaches depending on network constraints. For basic process parameters, it constructs “logical modules” inside the standard cyclic input telegram, providing quick updates for primary variables. For heavy configuration or deep diagnostic sweeps where telegram length is limited, it enables an internal HART “mailbox.” This mailbox approach fetches non-cyclic transmitter parameters sequentially upon host request, saving valuable real-time network bandwidth.
What causes the LAN LED to flash slowly after I have wired the network loop?
A slow-flashing yellow LAN LED indicates that the 8502-BI-DP has active power but is not receiving recognized data traffic from the Profibus master. This is caused by a mismatched station address, incorrect baud rate parameters configured in the master configuration software, or reversed Data+ and Data- signal lines (pin 3 and pin 8 on the DB9 terminal block) along the RS-485 run.
Is there a direct replacement module available if this model cannot be sourced?
Because the 8000 series architecture relies on specific physical railbus framing, you cannot substitute alternative third-party communication cards directly onto the carrier block. If an 8502-BI-DP fails and stock is unavailable, you must source a matching refurbished or new surplus unit from a specialist component provider. The alternative requires completely rewiring that node location over to a newer generation industrial remote I/O platform.

 Start Chat


