





Description
3. Key Technical Specifications
- Part Number: HIEE401091R0002 GD9924BE V2
- Type: Digital Input Module
- Input Signal: 24V DC (typical)
- Isolation: Galvanically isolated channels
- Dimensions: Approx. 38.2 cm x 12.7 cm x 6 cm (varies by enclosure)
- Weight: Approx. 1.05 kg
- Operating Temperature: -20°C to +60°C
- Protection Rating: IP20
- Mounting: DIN-rail or rack compatible
- Communication Support: Modbus RTU/TCP, EtherNet/IP capable in system
- Power Consumption: Low power draw suitable for DCS racks
- Country of Origin: Sweden
4. Product Introduction
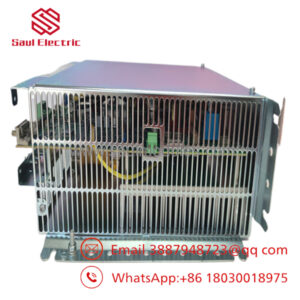
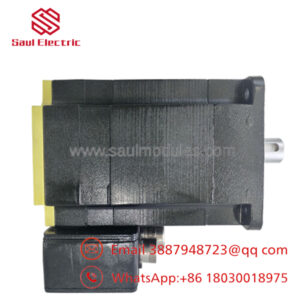
The ABB GD9924BE.V2.0025 (HIEE401091R0002) is a digital input module designed for ABB distributed control systems and industrial automation environments. It processes digital signals from field devices in process plants, power generation, and manufacturing applications.
Field teams select this module for its reliable signal acquisition and straightforward integration into existing ABB racks. It handles standard 24V DC inputs with isolation that reduces noise issues common in heavy industrial settings. Engineers choose it when maintaining or expanding legacy DCS installations where exact compatibility matters more than newer alternatives.
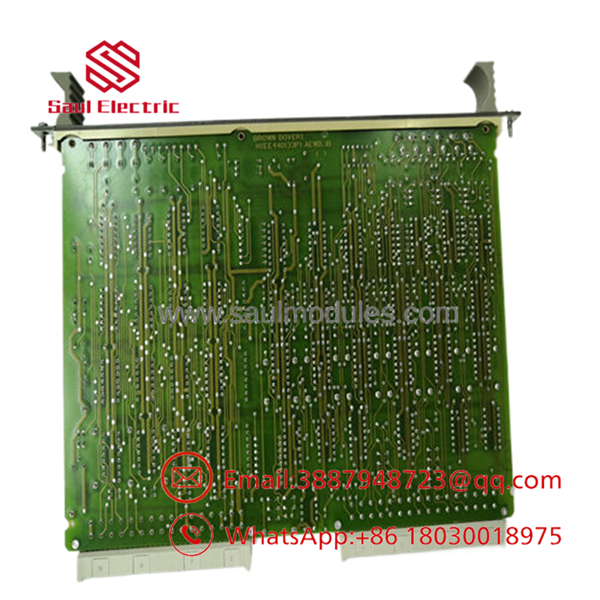
- GD9924BE.V2.0025 HIEE401091R0002
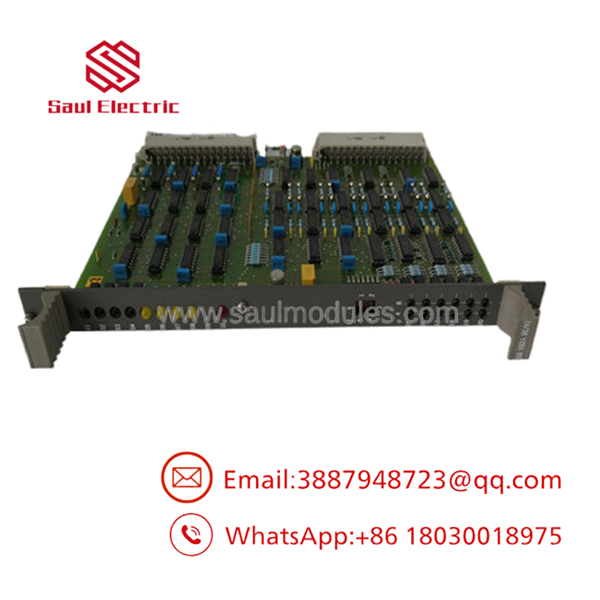
- GD9924BE.V2.0025 HIEE401091R0002
5. Installation & Configuration Guide
Stage 1: Pre-Installation Preparation (10-15 minutes) ⚠️ Safety First: Notify operations, verify safe state, perform lockout/tagout on power, and wait 5 minutes for discharge. Tools Required: ESD wrist strap, PH1 screwdriver, multimeter, wire labels, smartphone for photos. Data Backup: Export current configuration, photograph existing DIP switches/jumpers and terminal wiring.
Stage 2: Removing the Old Module
- Remove front cover or bezel.
- Label and disconnect wiring carefully—do not force connectors.
- Release locking tabs and pull module straight out to avoid backplane pin damage.
- Inspect backplane for debris or bent pins. ⚠️ Keep the old module until the new one runs without issues.
Stage 3: Installing the New Module (10 minutes)
- Use ESD protection and confirm exact model match.
- Configuration Clone: Match all DIP switches and jumpers to the old unit using your photos—node address and termination are critical.
- Seat the module firmly into the rack until it clicks.
- Reconnect wiring with proper torque. Self-Checklist: [ ] DIP settings match [ ] Wiring secure [ ] Module locked in place.
Stage 4: Power-On & Testing (10-15 minutes) Pre-Power Check: Use multimeter to verify no shorts on 24V rail.
- Power up the rack (field devices off).
- Check LEDs—green status indicates normal operation.
- Connect to engineering station, verify firmware and communications.
- Download configuration if needed and test I/O signals. ⚠️ Troubleshooting Note: Solid red error LED often points to firmware mismatch or config error. No communications? Double-check network settings and cable connections.
6. Frequently Asked Questions (FAQ)
Can this module be hot-swapped under power? No. Power down the rack first. Hot-swapping risks backplane damage or module failure in most ABB DCS setups. Plan a short controlled outage.
Is this model obsolete, and is it genuinely new? The GD9924BE V2 series is older but remains supported in many installed bases. Units offered as New Original / New Surplus come from verified stock with full traceability. We provide test reports and photos on request.
What is the direct replacement if this is out of stock? Contact ABB for current recommended successor. In practice, many sites continue using this exact model for backward compatibility. Verify rack and firmware before substituting.
Will I lose my programming logic when swapping? No—the logic resides in the controller or engineering station, not the I/O module itself. Back up your configuration beforehand and reload if the system requires it.
Why is the price lower than current OEM list price? These are new surplus units from authorized channels or factory overstock. They undergo full functional testing but carry our 1-year warranty instead of full factory support terms. This delivers immediate availability without the premium for brand-new production.
How do I confirm firmware compatibility? Document the firmware on your existing module before removal. Request matching revision when ordering. Mismatches cause the most common post-installation communication faults. Test reports include current firmware details.

 Start Chat


