





Description
Key Technical Specifications
| Parameter | Value |
| Input Supply Voltage | 18–36 VDC nominal |
| Network Interfaces | 5 x Integrated Network Ports (Ethernet, Modbus, CANbus supported) |
| Architecture | High-performance dedicated real-time microprocessor |
| Redundancy | Dual-channel native configuration support |
| Cooling Requirement | Convection cooled; vertical side-mounting required |
| Operating Temperature | −25 to +60 °C (−13 to 140 °F) |
| Relative Humidity | 5% to 95% non-condensing industrial standard |
| Diagnostic Layout | Onboard LED array for local status and failure tracing |
| Weight | 8.99 lbs (4.08 kg) |
| Housing Construction | Heavy-duty industrial metal chassis |
Product Introduction
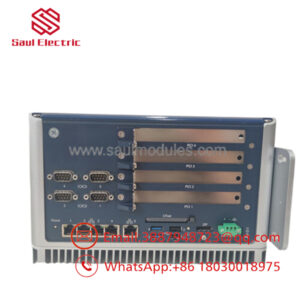
The Converteam P110-6052 is a heavy-duty Advanced Micro Controller (AMC) processor module originally developed by Alstom/Converteam and now supported under the GE Power Conversion legacy banner. Designed specifically for complex power systems, drive trains, and marine propulsion environments, this microcontroller executes deterministic control loops for critical high-capacity automation applications.
Equipped with 5 independent network ports, the P110-6052 provides the computing performance required to manage high-speed real-time data handling across Modbus, CANbus, and Ethernet pathways simultaneously. Its ruggedized architecture handles harsh ambient conditions, ensuring reliable operation within localized generator sets, grid management systems, and demanding excitation controls where standard commercial PLCs fail.
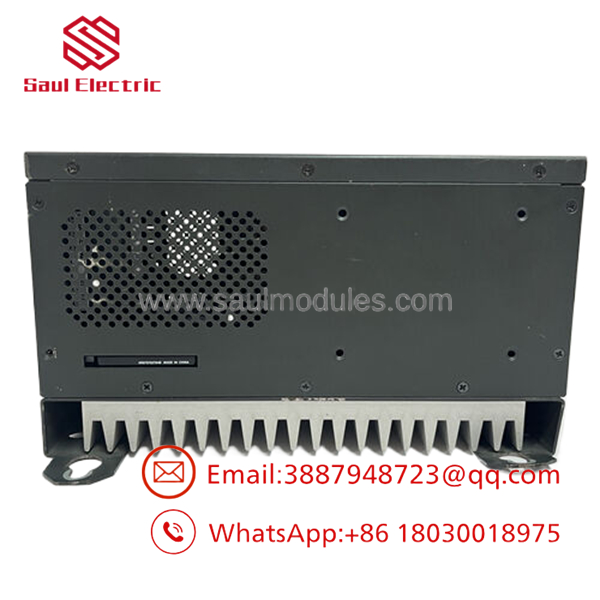
- Converteam P110-6052
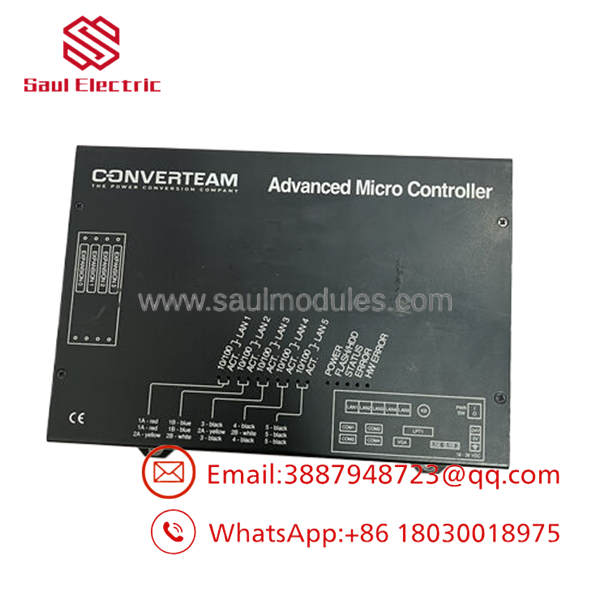
- Converteam P110-6052
Installation & Configuration Guide
Stage 1: Pre-Installation Preparation (Estimated Time: 15 minutes)
- ⚠️ Safety First: Confirm that the power conversion line or generator system linked to this controller is locked out and tagged out. Isolate the external 24 VDC supply. Failure to isolate power can cause ground-loop damage across connected communication nodes.
- Tools Required: Grounded ESD wrist strap, metric Allen wrench set, flathead terminal screwdriver, and a calibrated digital multimeter.
- Data Backup: Connect your diagnostic computer to the running system and extract the parameters, node definitions (e.g., node IP layout or network IDs), and running application logic before extracting the old controller.
Stage 2: Removing the Old Module (Estimated Time: 10 minutes)
- Verify that your ESD wrist strap is grounded to the metal enclosure frame.
- Disconnect all 5 network cables, noting their specific port mapping (Net 1 through Net 5). Protect the open connector jacks from dust infiltration.
- Unplug the primary terminal block supplying the 18–36 VDC control voltage.
- Unfasten the retaining bolts holding the controller chassis to the mounting backplate. Carefully lift the 8.99-pound unit straight off its mounting guide pegs.
Stage 3: Installing the New Module (Estimated Time: 15 minutes)
- Position the replacement P110-6052 card assembly against the backplate.
- ⚠️ Orientation Note: Mount the module vertically on its side. This alignment is required to ensure proper convective airflow across the integrated heat dissipation teeth. If space is restricted, position a dedicated cooling fan near the heat sinks.
- Secure all chassis retaining bolts firmly to complete the local frame grounding circuit.
- Match any configuration jumpers or hardware addressing selectors found on the old board’s side profile.
- Reinsert the 5 network cables into their exact matching ports.
Stage 4: Power-On & Testing (Estimated Time: 15 minutes)
- Measure the incoming power supply wires using a multimeter to confirm the voltage is within the required 18–36 VDC window.
- Insert the power terminal block and energize the supply circuit.
- Observe the initial LED status array. The system should boot through its localized check sequence and settle into a normal RUN/OK pattern.
- Connect via your engineering utility to reload configuration values and verify that the target node address matches your system architecture.
- ⚠️ Troubleshooting Note: If the network fails to establish a link, check the node name and network status definitions inside your software utility. Ensure the redundancy flags match the parameters of your existing network architecture.
Frequently Asked Questions (FAQ)
What legacy brands are associated with this specific part number?
The P110-6052 has been cataloged under Alstom, Converteam, and GE Power Conversion over its production lifespan. These variations refer to the same physical hardware design, resulting from corporate acquisitions. The technical specifications and circuit board execution remain identical across these nameplates.
Does this processor module support hot-swapping while the drive control loop is active?
The manages critical real-time operations and does not support live backplane hot-swapping. Disconnecting the power source or terminal connections while the module is live will drop communication links, trigger an emergency stop on connected drives, and risk damaging the internal microprocessor.
Why is vertical mounting emphasized for this hardware?
The high-performance microprocessor in the generates significant heat during continuous real-time loop execution. The physical layout utilizes natural thermal convection across its cooling fins. Mounting the module horizontally or upside down alters this airflow, trapping heat and shortening the life of the internal components.
What should I look out for regarding network node configuration?
When replacing a series card, you must confirm the node name and address configuration. Some variants are factory pre-configured or store persistent node data on local EEPROM chips. Ensure your engineering terminal matches these values to prevent communication timeouts or configuration errors upon initial power-up.
What is the origin and warranty status of this surplus hardware?
These units are New Original / New Surplus items acquired from verified industrial spare parts inventories and plant retrofits. Because manufacturing lines for this legacy series have closed, factory-direct replacements are no longer produced. We provide a complete 1-year functional warranty, backed by comprehensive bench testing and physical validation on our local test systems.

 Start Chat


