





Description
Key Technical Specifications
| Parameter | Value |
|---|---|
| Manufacturer | GE Intelligent Platforms |
| Model | VMIVME-7750 |
| Product Type | VME Single Board Computer |
| Form Factor | 6U VME Eurocard |
| Processor | Intel Pentium III, up to 1.26 GHz |
| Chipset | Intel 815E |
| System Memory | Up to 512 MB PC133 SDRAM (144-pin SODIMM) |
| Graphics | Integrated AGP SVGA with 4 MB display cache |
| Ethernet | Dual 10/100 Mbps Ethernet |
| Expansion | One PMC expansion site |
| Storage | CompactFlash (up to 1 GB), IDE support |
| Serial Interfaces | Two RS-232 serial ports |
| USB | USB support (configuration dependent) |
| Operating Systems | Windows XP, Windows 2000, Linux, VxWorks, Solaris, QNX, LynxOS |
| VMEbus Interface | VME64, Master/Slave operation, A16/A24/A32 addressing |
These specifications are based on the standard VMIVME-7750 family. Individual ordering options determine CPU speed, memory size, and CompactFlash capacity.
Product Introduction & Supply Chain Strategy
The GE VMIVME-7750 is an Intel Pentium III-based VME Single Board Computer developed for demanding embedded computing applications requiring deterministic performance and long operating life. It is commonly deployed in industrial automation, power generation, military systems, aerospace, telecommunications, automated test equipment, and process control installations.
Because the VMIVME-7750 platform has entered the legacy stage of its lifecycle, genuine replacement boards are increasingly difficult to obtain. Maintaining New Surplus inventory reduces Total Cost of Ownership (TCO), minimizes lead time variability, and avoids the reliability concerns associated with refurbished electronics. For mission-critical systems, maintaining 1–2 units of buffer stock and implementing a last-time-buy strategy is strongly recommended.
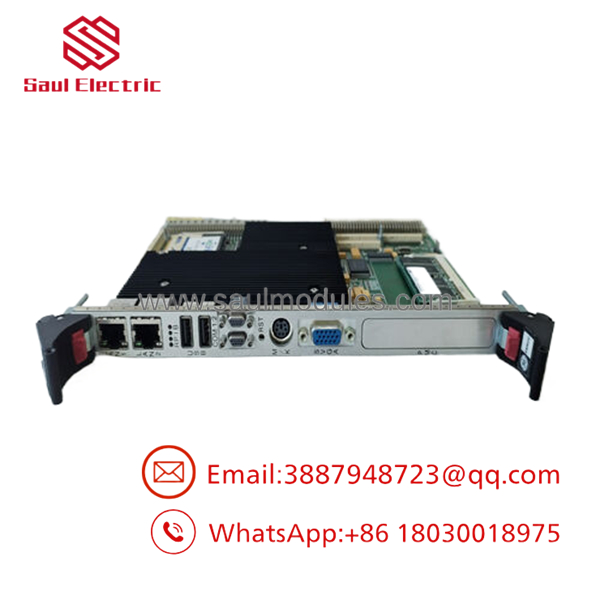
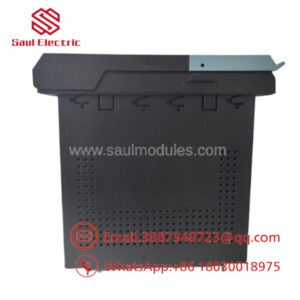
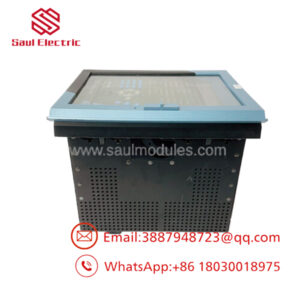
- VMIVME-7750
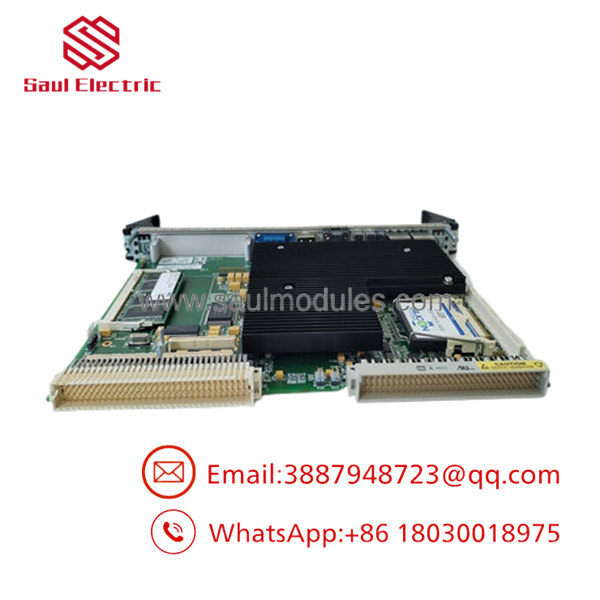
- VMIVME-7750
Installation & Configuration Guide
Stage 1 – Pre-Installation (Preparation & Safety)
- Perform Lock-Out/Tag-Out (LOTO).
- Shut down the VME chassis completely.
- Wear a grounded ESD wrist strap.
- Record:
- BIOS settings
- Boot configuration
- Network parameters
- Operating system version
- Installed application software
- Photograph all PMC modules, front-panel connections, and cabling.
Stage 2 – Removal
- Disconnect all communication cables.
- Remove retaining screws.
- Operate the injector/ejector handles evenly.
- Remove the board carefully to avoid damaging the VME connectors.
- Inspect the backplane for bent pins or contamination.
Stage 3 – Installation
- Verify the replacement model is .
- Transfer any PMC modules if required.
- Insert the board evenly into the VME backplane.
- Secure the front-panel hardware.
- Reconnect all external interfaces.
Stage 4 – Power-On & Testing
- Restore chassis power.
- Verify successful BIOS POST.
- Confirm operating system startup.
- Test Ethernet communication.
- Validate application software, VME communication, and all field interfaces before returning the equipment to service.
Firmware / Software Versions & Upgrade Notes
- Record the BIOS revision before replacing the board.
- Maintain the original BIOS version whenever possible to preserve software compatibility.
- Verify operating system support for the installed processor option.
- Confirm Ethernet, graphics, and PMC device drivers after installation.
- Avoid simultaneous BIOS and operating system upgrades during emergency maintenance.
- After replacement, verify VME address mapping, interrupt assignments, watchdog timer configuration, and CompactFlash boot settings.
Frequently Asked Questions (FAQ)
Q1. Is this a New Original product?
Yes. This offering refers to a New Original / New Surplus unit. It is not used, repaired, or refurbished. Every board should undergo serial number verification, visual inspection, and functional testing before shipment.
Q2. Why choose New Surplus instead of refurbished?
New Surplus hardware retains original OEM manufacturing quality and has never been placed into production service. Although it typically costs more than refurbished equipment, it substantially reduces the risk of premature failures and costly production downtime.
Q3. Is the still manufactured?
The is considered a legacy VME computing platform. Most available units are sourced from remaining industrial inventory rather than current production, making proactive spare inventory planning advisable.
Q4. Can the board be hot-swapped?
No. Unless the host VME chassis specifically supports managed hot-swap operation, always power down the chassis before installing or removing the board.
Q5. Will my software continue to operate after replacement?
In most cases, yes. Compatibility depends on the BIOS revision, processor option, operating system, and application software. Always verify boot configuration, hardware resources, and software licensing after installation.
Q6. What warranty is recommended for New Surplus inventory?
Qualified industrial automation suppliers typically provide a 12 month warranty, along with incoming inspection, functional verification, anti-static packaging, and export-grade shipping protection.
Q7. What inventory strategy is recommended?
For facilities operating legacy VME-based automation or embedded computing systems, maintain as critical buffer stock. Because this platform is in the mature phase of its lifecycle, organizations should monitor lead time variability, consolidate qualified suppliers, and evaluate last-time-buy opportunities before genuine inventory becomes increasingly scarce.

 Start Chat


