





Description
Key Technical Specifications
- Product Type: Single board computer.
- Bus Standard: VMEbus.
- Form Factor: 6U, single-slot, passively cooled.
- Processor: Intel Pentium M-based architecture.
- Chipset: Intel 855GME.
- Memory: Up to 1.5 GB DDR SDRAM.
- Networking: 10/100 Ethernet plus dual Gigabit Ethernet.
- Display: Front-panel SVGA and rear-I/O DVI-D with dual-head support.
- Serial Ports: COM1 front panel; COM2, COM3, and COM4 rear I/O.
- USB: Four USB 2.0 ports.
- Storage: SATA and Ultra IDE support.
- Expansion: One PMC slot, PCI-X 66 MHz.
- Operating Systems: VxWorks, Solaris, QNX, Windows 2000, Windows XP, Linux.
- Use Case: Industrial control, process control, simulation, instrumentation, and test systems.
Product Introduction
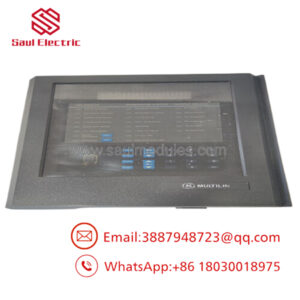
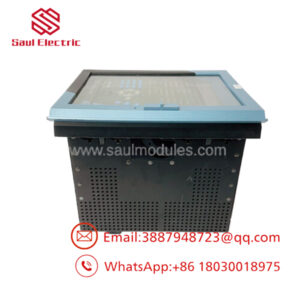
The GE VMIVME-7807RC is a VMEbus single board computer built around a Pentium M platform for legacy industrial control and embedded automation systems. It uses a single-slot, passively cooled 6U VME form factor and adds modern-at-the-time desktop features such as dual Gigabit Ethernet, USB 2.0, and video support.
This board is typically selected to keep an installed VME system alive without redesigning the chassis or software stack. In practice, the biggest advantage is software and rack continuity, but buyers still need to verify exact revision, rear-I/O wiring, boot media, and OS compatibility before installing a replacement.
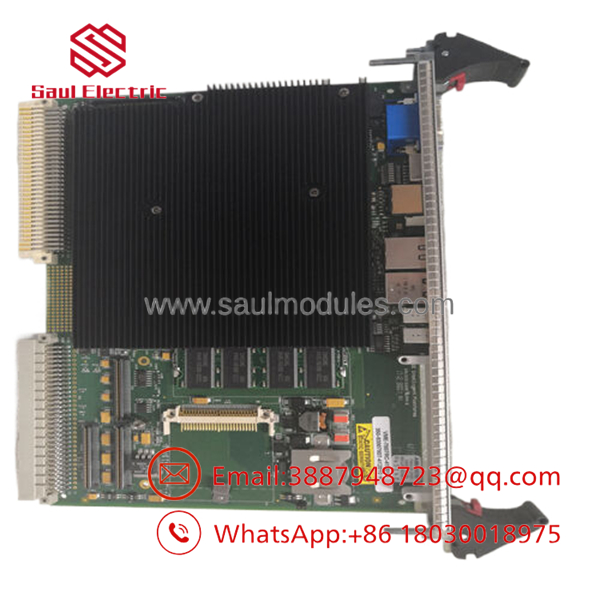
- VMIVME-7807RC
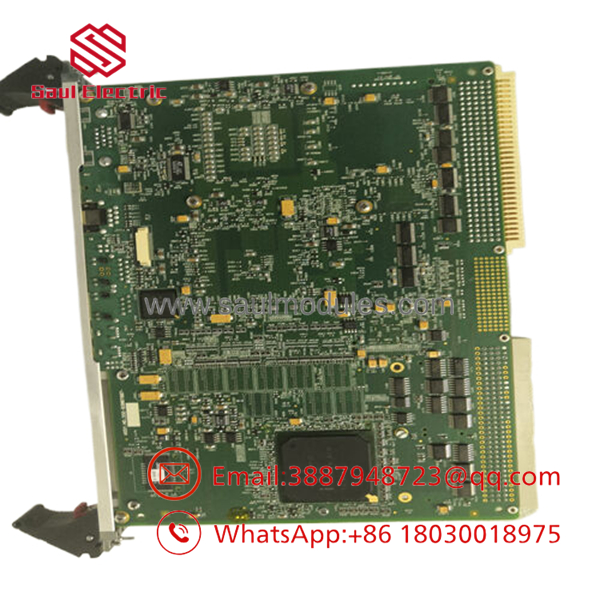
- VMIVME-7807RC
Installation & Configuration Guide
Stage 1: Pre-Installation Preparation
Time estimate: 5-8 minutes.
- ⚠️ Safety First: Notify operations of downtime, verify safe state, lock out/tag out power, and wait at least 5 minutes for capacitor discharge.
- Gather tools: ESD strap, PH1 screwdriver, multimeter, wire labels, and a smartphone for photos.
- Back up the system image and application files, record BIOS or boot settings, document network addresses, and photograph all jumpers, rear-I/O cabling, and PMC accessories.
- Verify the replacement board is the exact VMIVME-7807RC variant before opening the package.
Stage 2: Removing the Old Module
Time estimate: 5 minutes.
- Remove the front bezel or rack access cover.
- Label and disconnect cables carefully; do not force connectors.
- Release the VME locking hardware and pull the board straight out to protect the backplane pins.
- Inspect the backplane connector area for bent pins, contamination, or heat damage.
- ⚠️ Note: Keep the old module until the replacement boots and passes full functional checks.
Stage 3: Installing the New Module
Time estimate: 8-10 minutes.
- Put on the ESD strap and confirm the model number matches the removed unit.
- Configuration clone is critical: duplicate jumper positions, BIOS settings, boot order, and PMC-related details from the old-board photos.
- Insert the board evenly into the slot until fully seated.
- Reconnect rear-I/O, front-panel cables, and any PMC modules using the original routing.
- Check the self-list: [] settings match, [] wiring secured, [] board seated, [] rack lock engaged.
Stage 4: Power-On & Testing
Time estimate: 8-12 minutes.
- Pre-power check: use a multimeter to check for shorts on the supply and field wiring tied to the rack.
- Power up the rack first, not the external loads.
- Watch the board LEDs, speaker, or status indicators if present; any fault state means stop and inspect.
- Enter BIOS or maintenance setup and verify memory, storage, network ports, and boot order.
- Confirm the operating system loads, then test Ethernet, serial ports, and any application-specific interfaces.
- ⚠️ Troubleshooting Note: If the board does not boot, check memory seating, boot media, BIOS settings, and slot seating before assuming a board failure.
Frequently Asked Questions
Can this board be hot-swapped under power?
No. Treat it as a powered-down replacement unless the exact rack documentation explicitly allows live insertion or removal. On a legacy VME CPU board, hot-swapping is a good way to damage backplane pins or corrupt the boot image.
Is the VMIVME-7807RC obsolete?
Yes, it is a legacy part and stock is usually limited. In practice, buyers are looking at surplus or refurbished units, not ongoing OEM production.
What is the direct replacement if this board is unavailable?
There usually is not a generic drop-in substitute. The replacement has to match the VME form factor, processor class, rear-I/O layout, BIOS behavior, and system software expectations. Verify that before you promise the plant a quick swap.
Will I lose my programming when I replace the module?
Usually no, if the application lives on removable media, a network host, or a separate controller. The real risk is losing the boot and configuration details that let the board start cleanly, so back everything up first.
Why is your price lower than OEM list price?
Because this part is commonly sourced as surplus or refurbished stock rather than fresh OEM production. That is normal for discontinued industrial hardware, but test status and warranty still matter.
What condition should I expect?
Most available units are new surplus or refurbished tested. Ask for board photos, test confirmation, and packing details before release.
What is the most common installation mistake?
Skipping the BIOS, boot-media, rear-I/O, and jumper photo step before removal. I have seen that turn a simple replacement into a long night of troubleshooting.

 Start Chat


