





Description
Key Technical Specifications
| Parameter | Value |
|---|---|
| Manufacturer | GE |
| Model Number | WES5302-111 |
| Product Family | WES5302 |
| Product Type | Field controller master unit |
| Application | Industrial automation and control systems |
| Mounting Style | Rack / module-based installation |
| System Role | Master controller / field control coordination |
| Lifecycle Status | Legacy / likely obsolete |
| Supply Strategy | Buffer stock recommended |
| Recommended Stocking | 1-2 units on-site for critical service coverage |
| Condition | New Surplus / New Original |
Product Introduction & Supply Chain Strategy
GE WES5302-111 is a legacy industrial control module used in automation and field-control environments where rack-based system coordination matters. It belongs in plants that still run installed GE hardware and need a dependable spare to keep uptime stable.
Buying this as New Surplus makes sense when the installed base is aging and lead time variability is high. The TCO is better than gambling on questionable alternates, and strategic stocking reduces stock-out risk, supports last-time-buy planning, and avoids hidden failures tied to non-new parts.
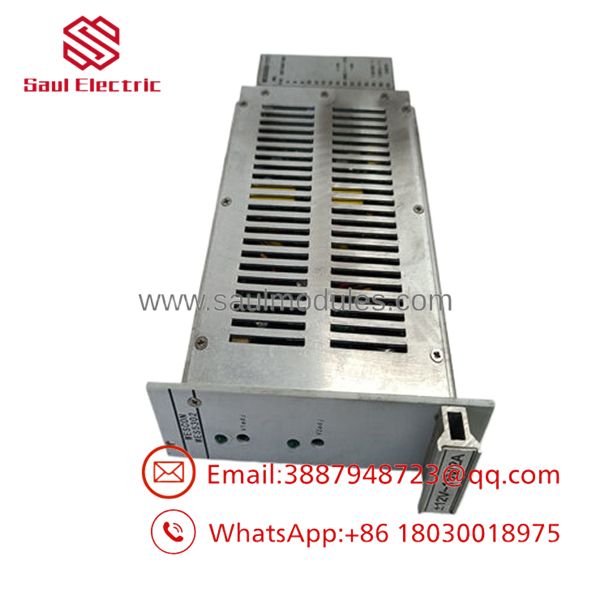
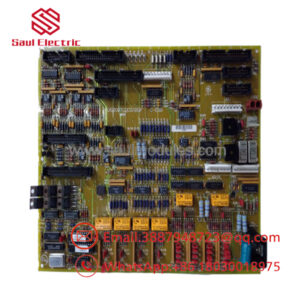
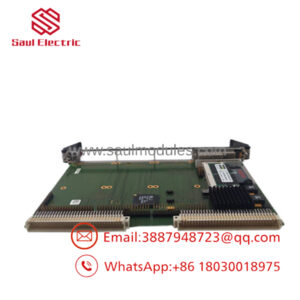
- WES5302-111
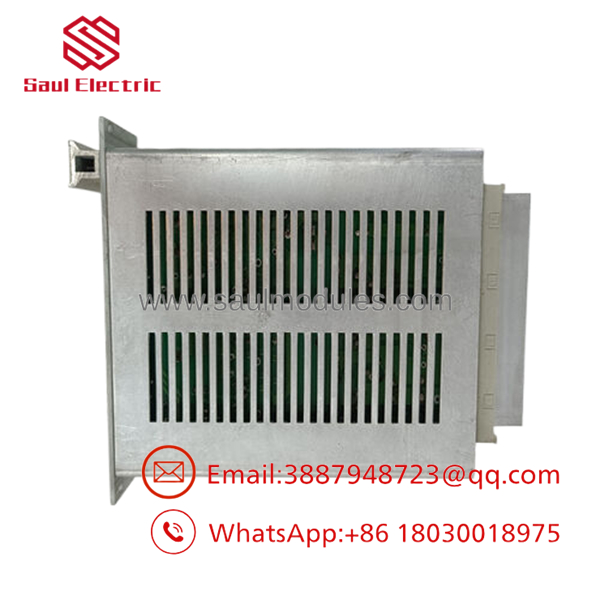
- WES5302-111
Installation & Configuration Guide
Stage 1: Pre-Installation
Start with lock-out/tag-out, verify zero energy, and gather an ESD strap, insulated hand tools, and a camera. Photograph the existing module, cable routing, DIP switches, jumpers, and any terminal markings before removal. Confirm the replacement part number matches the rack slot and power requirements.
Stage 2: Removal
Release the module using the proper extractor points and pull it straight out to avoid bending backplane pins. Do not twist the card or force it against adjacent modules. Inspect the slot and connector for damage, contamination, or signs of overheating.
Stage 3: Installation
Mirror the original DIP switch and jumper settings exactly before seating the new unit. Slide the module in evenly until the connector fully engages, then secure the retaining hardware. Recheck all wiring against the photos taken during pre-installation.
Stage 4: Power-On & Testing
Before full energization, verify the 24 V rails for shorts and confirm ground integrity. Power up and read the LEDs; RUN should indicate normal operation, while ERR signals a configuration or hardware issue. Download or restore the control logic as required, then validate communications and I/O response.
Firmware/Software Versions & Upgrade Notes
The recommended approach is to keep the replacement on the same firmware level as the removed unit whenever possible. If the site has no documented version history, capture the current version before swap-out and avoid changing firmware during the hardware change unless compatibility is already confirmed.
Firmware mismatches can create communication faults, timing issues, or logic load failures, especially on older GE installations. Upgrading or downgrading during replacement adds risk, so treat firmware changes as a separate maintenance event with a rollback plan.
Frequently Asked Questions
Is this really new? Yes. This offering should be positioned as New Surplus / New Original, meaning it is genuine OEM inventory rather than refurbished stock.
Why is it cheaper than OEM new but higher than refurbished? New Surplus usually comes from excess OEM or channel inventory, so it avoids full list pricing while still preserving original condition, traceability, and lower lifecycle risk.
Is WES5302-111 obsolete? Yes, it should be treated as a legacy spare with EOL-style stocking discipline. For critical assets, keep buffer stock and plan ahead for last-time-buy coverage.
Can I hot-swap it? Do not assume hot-swap capability. Confirm the installed GE system design first, because removing a live controller module can cause faults or a shutdown.
Will it retain programming? The module itself may not be the only place where configuration resides. Back up logic, firmware version, DIP settings, and any site-specific parameters before replacement.
What warranty should I expect? New Surplus industrial spares are commonly supported with a limited warranty window, often 1-2 years depending on supplier terms. Verify the exact coverage before issuing the PO.

 Start Chat


