





Description
Key Technical Specifications
| Parameter | Value |
|---|---|
| Manufacturer | GE / GE Multilin |
| Model Number | 760-P5-G5-S5-HI-A20-R |
| Product Type | Feeder management relay |
| Control Power | 88-300 VDC or 70-265 VAC |
| Phase Current Inputs | 5 A |
| Zero-Sequence Current Inputs | 5 A |
| Sensitive Ground Current Input | 5 A |
| Analog Outputs | Eight 4-20 mA outputs |
| Display | 40-character alphanumeric LCD |
| Communications | Ethernet 10BaseT |
| Operating Temperature | -40°C to +80°C |
Product Introduction & Supply Chain Strategy
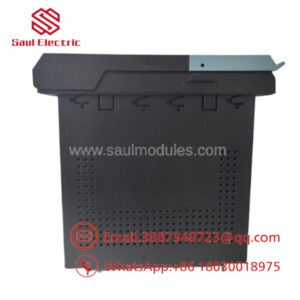
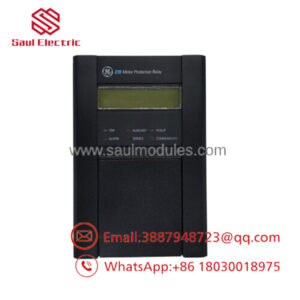
GE 760-P5-G5-S5-HI-A20-R is a feeder management relay used for feeder protection, control, monitoring, and event recording in industrial and utility power systems. It fits applications where fast fault detection, status visibility, and relay-based coordination matter more than low-cost commodity sourcing.
Buying this as New Surplus is a sound TCO decision when the relay is critical to plant uptime and replacement lead times are uncertain. It reduces stock-out risk, avoids the hidden failure rate of questionable parts, and supports planned buffer stock for an item that is typically held for reliability rather than high turnover.
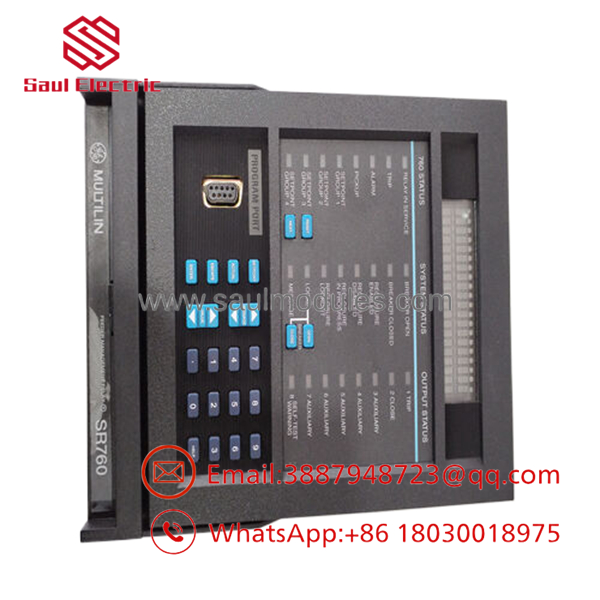
- 760-P5-G5-S5-HI-A20-R
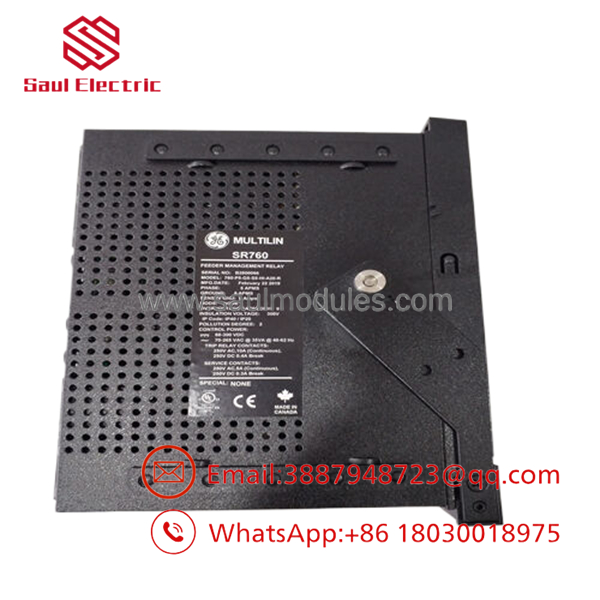
- 760-P5-G5-S5-HI-A20-R
Installation & Configuration Guide
Stage 1: Pre-Installation
Perform lock-out/tag-out before touching the panel. Gather an ESD strap, insulated tools, a camera, and your wiring diagram. Photograph the existing DIP switches, terminal wiring, LED states, and any relay settings before removal.
Stage 2: Removal
De-energize the circuit completely, then release the module using the proper extraction points. Pull straight out with even pressure to avoid bending backplane pins. Do not twist the unit or force it against the socket.
Stage 3: Installation
Match every DIP switch, jumper, address, and wiring termination exactly to the removed unit. Seat the module fully and confirm mechanical engagement before restoring power. Verify terminal tightness and check that no conductor has shifted during insertion.
Stage 4: Power-On & Testing
Check the 24 V control rail and related supply circuits for shorts before energizing. On startup, confirm normal LEDs, with RUN active and ERR inactive, then verify communications and relay status. Reload logic or settings only after confirming the base hardware and wiring are stable.
Firmware/Software Versions & Upgrade Notes
For this relay, the safest practice is to preserve the existing firmware level and document it before swap-in. Any firmware change should be treated as a controlled maintenance action, not a routine replacement step.
Version mismatches can create protocol or settings issues when the relay is integrated with legacy monitoring, SCADA, or downstream protection logic. Upgrading may introduce compatibility risk, while downgrading can break existing parameter sets or validation expectations. Keep the firmware consistent unless a known issue or vendor requirement forces a change.
Frequently Asked Questions
Is this really new? Yes. The correct procurement position for this part is New Surplus / Original New, not refurbished or repaired.
Why is it cheaper than OEM new but more expensive than refurb? New Surplus carries lower cost than factory list pricing because it comes from global excess inventory, but it still avoids the reliability risk of questionable pull parts.
Is this part obsolete or EOL? Treat it as a strategic spare with limited availability. That means you should manage it with buffer stock, vendor consolidation, and a last-time-buy mindset.
Can I hot-swap it? Do not assume hot-swap capability. Isolate the circuit, confirm zero energy, and follow the panel and relay procedure before removal or insertion.
Will programming stay in the unit? Settings retention depends on the exact application and configuration. Always back up relay parameters before removal and verify them after installation.
What warranty terms make sense for this type of part? For New Surplus industrial relays, a practical commercial warranty is usually tied to shipment testing and serial traceability. The key procurement value is verified condition, not just warranty length.

 Start Chat


