





Description
Key Technical Specifications
- Product Type: VMEbus analog output board.
- Channels: 8 independent analog output channels.
- Resolution: 16-bit.
- Output Type: Digital-to-analog conversion for control and test applications.
- Bus Interface: VMEbus.
- Form Factor: Single-slot Eurocard.
- Cooling: Passive cooling.
- Power: +5 VDC.
- Operating Temperature: -40 to +85 °C.
- Update Control: Software-configurable output update behavior.
- Encoding: Supports 16-bit positive binary or two’s complement digital input formats.
- Typical Use: Process control, data acquisition, and test systems.
Product Introduction
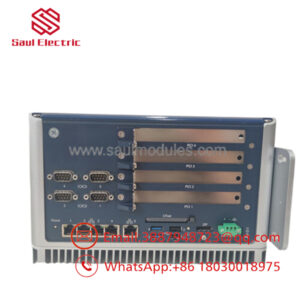
The GE VMIVME-4116 is a VMEbus analog output board used in legacy industrial control, test, and data acquisition systems. It converts digital commands into 8 channels of 16-bit analog output and fits a single-slot Eurocard VME rack.
Engineers usually keep this board in service when they need to preserve an existing VME architecture without rewriting the host system. The main value is compatibility with older racks and established I/O mapping, but you still need to verify exact output range, register map, and connector details against the board-level datasheet before replacement.
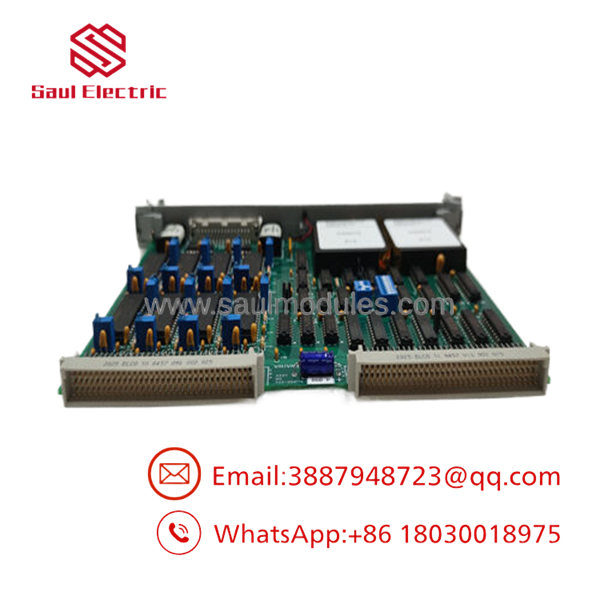
- VMIVME-4116
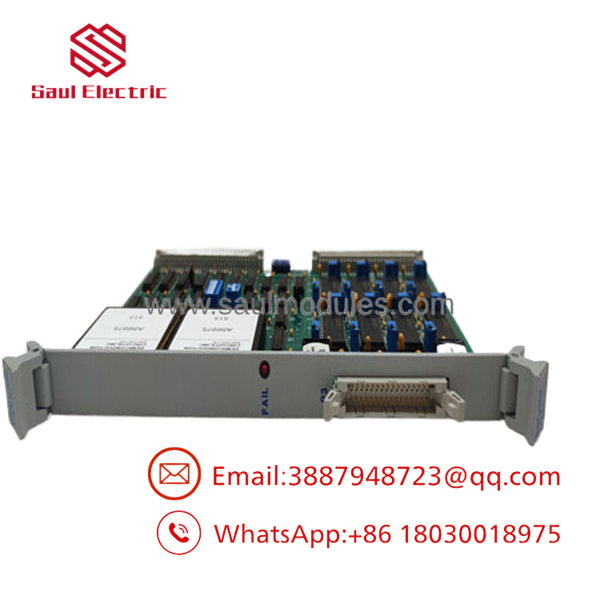
- VMIVME-4116
Installation & Configuration Guide
Stage 1: Pre-Installation Preparation
Time estimate: 5-8 minutes.
- ⚠️ Safety First: Notify operations of downtime, verify safe state, lock out/tag out power, and wait at least 5 minutes for capacitor discharge.
- Gather tools: ESD strap, PH1 screwdriver, multimeter, wire labels, and a smartphone for photos.
- Back up the host configuration, record channel mapping, document output ranges, and photograph any jumpers, switches, or terminal block wiring.
- Verify the replacement board is the exact VMIVME-4116 variant before opening the antistatic packaging.
Stage 2: Removing the Old Module
Time estimate: 5 minutes.
- Remove the front bezel or rack cover.
- Label and disconnect field wiring carefully; do not force terminals or bend the connector pins.
- Release the VME locking hardware and pull the board straight out to avoid backplane damage.
- Inspect the backplane connector area for bent pins, contamination, or heat discoloration.
- ⚠️ Note: Keep the old board on hand until the new one passes functional checks.
Stage 3: Installing the New Module
Time estimate: 8-10 minutes.
- Put on the ESD strap and confirm the model number matches the removed board.
- Configuration clone is critical: copy every jumper, switch position, and channel-range setting from the old board photo.
- Insert the board evenly into the slot until fully seated.
- Reconnect wiring using the proper torque screwdriver and verify shielding exactly as before.
- Check the self-list: [] settings match, [] wiring secured, [] board seated, [] rack lock engaged.
Stage 4: Power-On & Testing
Time estimate: 8-12 minutes.
- Pre-power check: use a multimeter to check for shorts on the supply and output wiring.
- Power up the rack first, not the field load.
- Watch the LEDs or board-status indicators if present; a fault indication means stop and inspect.
- Connect the maintenance software or host controller and verify board recognition, address mapping, and output channel configuration.
- Run a dry test on each output channel and confirm the measured analog value matches the command.
- ⚠️ Troubleshooting Note: If the board reports a fault or the outputs sit at the wrong level, check configuration mismatch, output range settings, and host address mapping before assuming board failure.
Frequently Asked Questions
Can this board be hot-swapped under power?
No. Treat it as a powered-down replacement unless the exact rack documentation says otherwise. On a legacy VME chassis, live removal is how people bend backplane pins and create a longer outage.
Is the VMIVME-4116 obsolete?
Yes, it is a legacy VME board with limited availability. In most plants, that means new surplus or refurbished tested stock, not current factory production.
What is the direct replacement if this board is unavailable?
The direct replacement must match the VME form factor, output channel count, resolution, register map, and connector pinout. Honestly, that is where people get burned; a board can look similar and still fail at the software or wiring level.
Will I lose my programming when I replace the board?
Usually no, because the board is an output module rather than the system CPU. The real risk is channel mapping or range configuration, so back up the host setup before you pull the old unit.
Why is your price lower than OEM list price?
Because this part is commonly sold as surplus or refurbished inventory instead of fresh OEM production. That is normal for discontinued VME hardware, but the buyer should still ask for test status and warranty terms.
What condition should I expect?
Most available stock is new surplus or refurbished tested. I would not buy it blind; ask for photos, test confirmation, and packaging details before release.
What is the most common installation mistake?
Skipping the jumper and range settings photo. That is the rookie error that causes a 10-minute swap to turn into a half-day troubleshooting session.

 Start Chat


